FLOAT HEIGHT ADJUSTMENT
Why do we need to adjust the float height? If the bike is running poorly when going up or down slopes, or if the needle valve is worn.
What tools do I need? Float level gauge, carb bowl screws, phillips head screwdriver, ball end allen wrench, a small flat tip screwdriver, and something with a small diameter to push out the float pin.
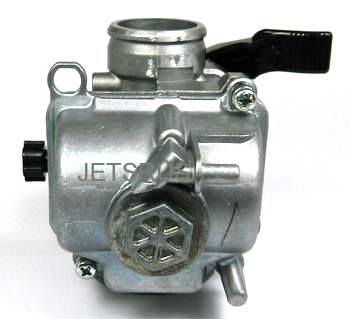
In the following example we will show how to change the float in a carb. This particular carb is a Keihin and has only two carb bowl screws, most have four.
1) Remove the carb bowl screws located on the bottom of the carb.
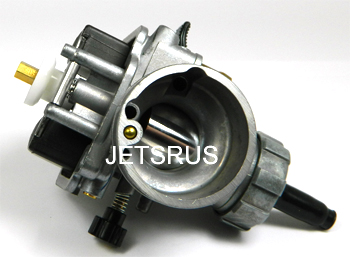
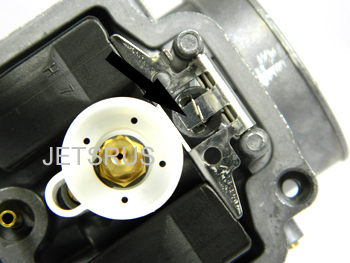
2) With the bowl cover removed the bottom of the carb looks like this:
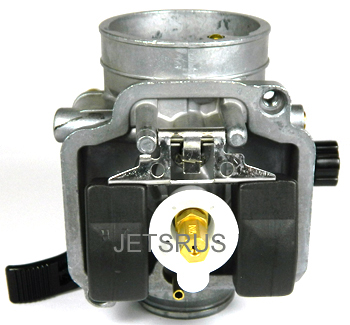
3) If replacing the floats, rest the carb in a convenient position.
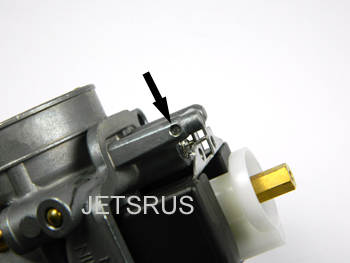
4) Remove the float pin (see arrow in photo below) that holds the float in place, remove the float, remove needle valve if it is worn or in any way damaged. Reinstall in opposite order.
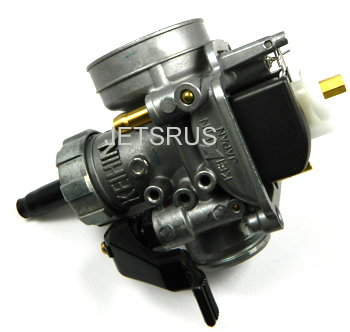
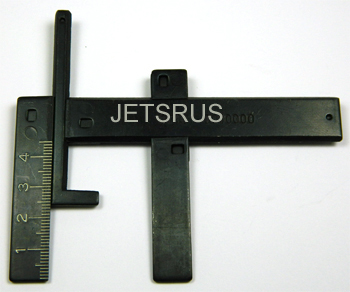
5) Adjust the float level gauge legs so that they will rest on the carb and will not touch the floats. Adjust the tool so that the float height indicator will not touch the floats.
6) Rest the carb in a position that the float just touches the float needle valve, but does not compress the float needle valve spring.
7) Now set the gauge on the carb and check the float hight.
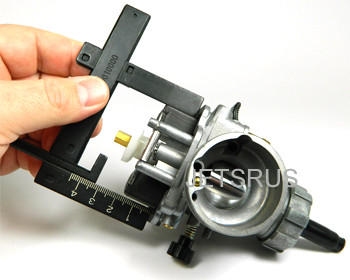
8) Slide the gauge down until it just barely touches the floats. The number will be the float level in mm (millimeters).
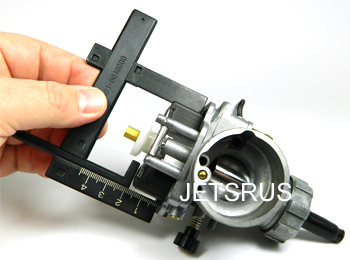
9) In this example the gauge indicates 18 mm.
10) If the level is not correct adjust by gently bending the tab on the float a little bit at a time. Check with gauge and repeat until float is at correct height. Take care not to damage the float needle spring.

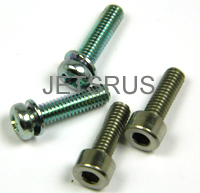
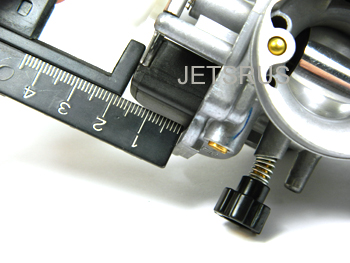
11) After float height is correct replace carb bowl cover. We remove the factory phillips screws and replace them with the stainless steel screws because they are easy to remove for maintenance and rejetting.